This week's recipe, originally from Guy Fieri,, for sppicy cherry ribs. First off, this sauce is amazingly complex, like you can almost feel/taste it's flavour changing in your mouth. Not at all what I would describe as a BBQ sauce, but yet still rich, smoky, sweet, spicy, savoury blending all at once.
I made a few changes because canned cherries do not exist in CANADA. I tried every store, spoke to managers, they were not having it. I could have cherry jam, cherry pie filling, frozen cherries or fresh.
 Fresh ones were on sale, so I used those (which was messy! but so good). I also didn't measure my ginger/garlic, instead i opted to use purees of both 3 spoons of ginger and 2 heaping spoons of ginger. I was also tempted to add a little brown sugar to my sauce but held off.
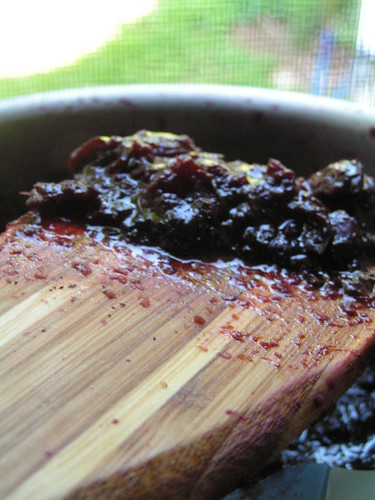
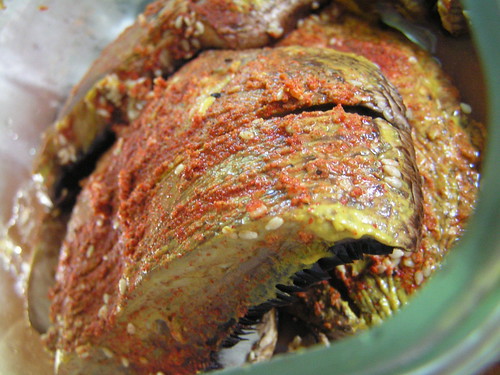
For my ribz, I decided to utilize the beautiful and head sized portobello caps I had from costco. As such, I should have reduced the amount of spice rub used but didn't. I sliced halfway through the caps to create tear-able riblettes. Brushed the top sides of the caps with mustard as the recipe suggests, and then just shorta dumped the rub on and mixed it a bit.
Then they went covered into the fridge for way longer than required (I sorta forgot about them for a week).
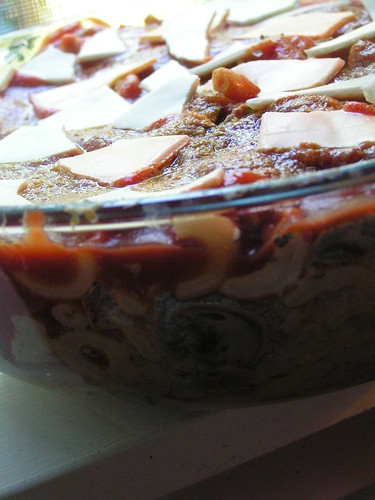
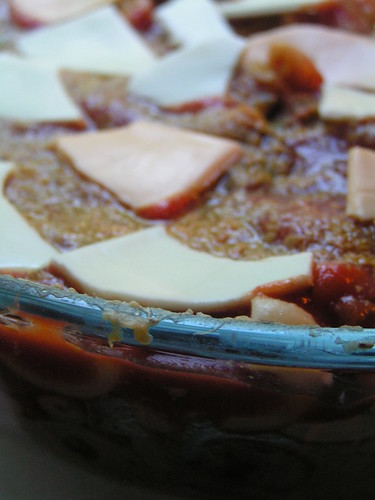
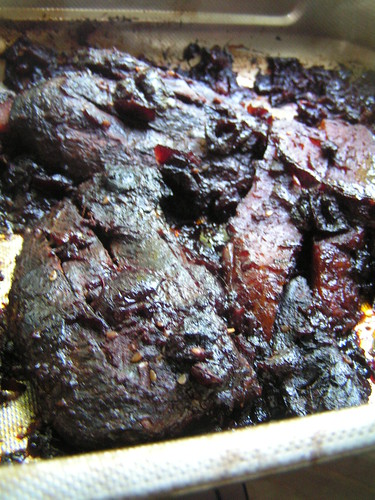
 Mushroom version
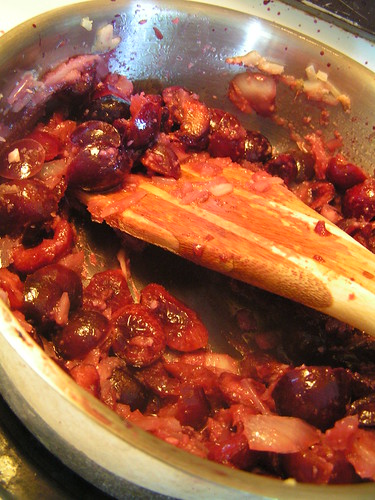
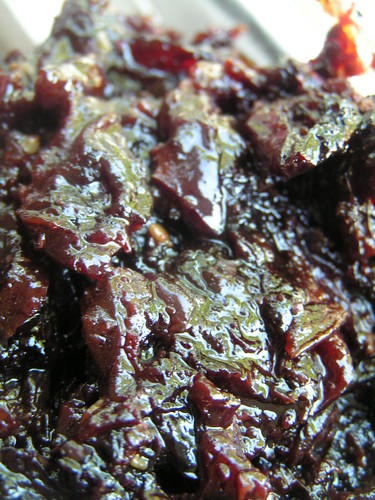
Bringing us to today! I cooked up the sauce as the recipe describes, painfully pitting and chopping cherries. As a result my final sauce was kinda jelly like, thick with little sweet/sour cherry bombs throughout. I smushed them up while cooking, but I kinda liked the chunks. In the future I may try blending the final sauce for a smoother glazing approach.
I baked the rubbed mushrooms and last minute sliced a bit of seitan I had into sticks/ribs. The seitan wasn't rubbed or marinated, just brushed on both sides with olive oil. I baked at 350 for 15 minutes on one side while the sauce cooked, flipped then another 15 on the other.
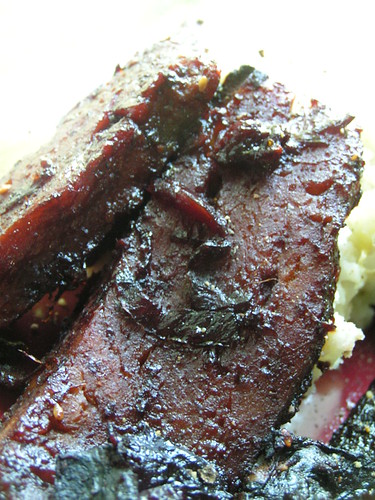
Reduced heat to 250, and here came the tough part. I couldn't choose between a light glazing/brushing of sauce to create an extra crispy sell served with additional sauce OR if I should stick with the recipe and dump the whole mess into the pan to broil. I started with a light coating on side, baked for 10. It looked pretty good, but after reading all the other posts decided to flip everything and then liberally cover with sauce and bake for another 15. Then out and flipped once more with everything bubbling, stir around the sauce and broil for 5-6 minutes.

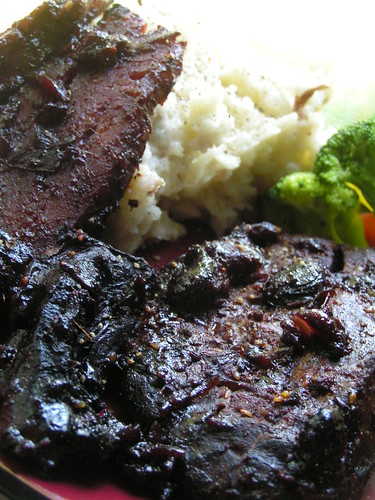
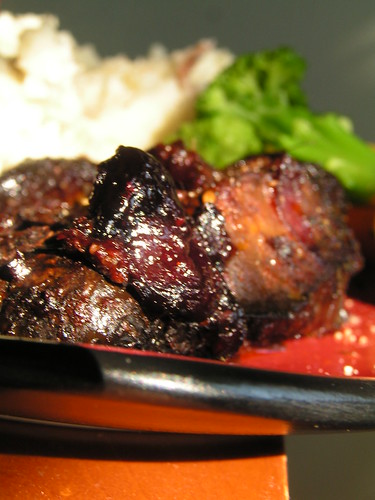
The results were amazing!!The seitan developed an amazing colour/glazed coating. Nice and crisp while soft and chewy in the middle. But the mushrooms really stole the show! they were moist, meaty, chewy and simply amazing. The texture was out of this world.
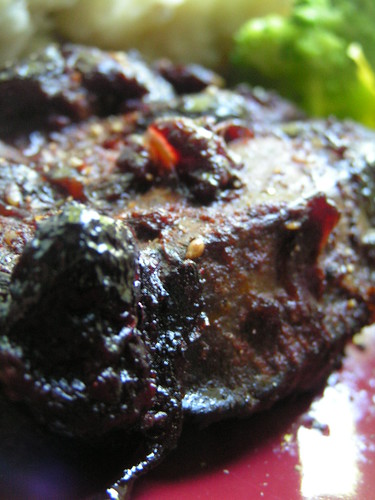
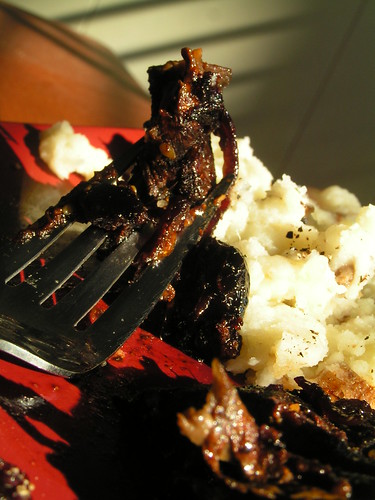
 Seitan Riblet
Here's the thing, through baking the mushrooms let out a LOT of water which I drained and all was good. But i really should have drastically reduced the rub because while baking, mushrooms sweating, spicy ribz rub ran everywhere and mixed into the sauce. So my ribz where extra hot! The baking and additional Cayenne really turned up the heat! So I would try halving the rub next time, or maybe try leaving it out. In the mean time I'll be eating these tasty babies in small batches.
 Mushrooms had such a unique meaty feel.
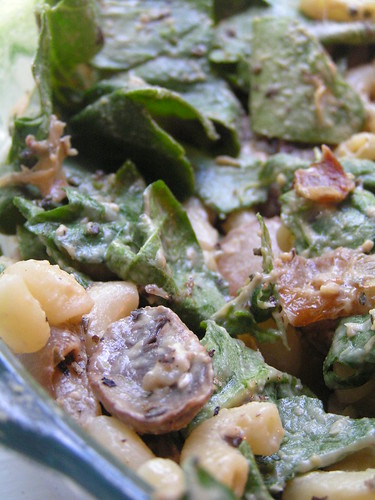
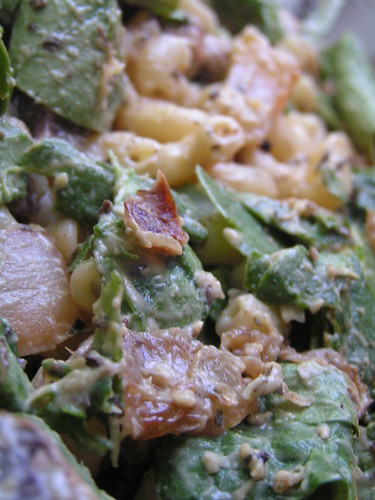
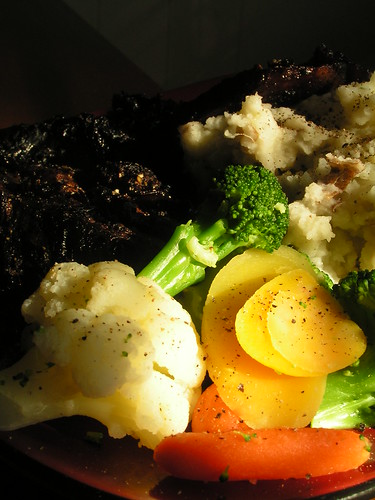
To round out the meal I mashed some taters in skin mixed with an amazing Vegan-mayo styled dill/chive/garlic dip from the Farmers Market. It was very similar to a super thick cream cheese/sour cream dip. Making a nice creamy, slightly tart, with a bit of bite, extra flavourful side dish! And added some steamed veggies for colour!
 I even had enough for lunch for work! yum!
I'm also planning to use some of the remaining seitan/mushroom ribs for a rib sandwich if I can find a nice, easy, cooling,creamy slaw to serve it with. Another idea I toyed with was serving the ribs pho style atop a rich noodled broth with veggies.
 More photos on Flickr.