Showing posts with label cheap. Show all posts

Tuesday, November 8, 2016

Veganmofo: Day 8: Bonus post! Turn it around

Ok, so as some of you already know from my FB post etc I am going to make dumplings for today's @Veganmofo theme however my wrappers are still defrosting. So I decided to find something to do with the carrot soup my mom made me from her garden.

See here is the thing, she made the soup and pureed it then frozen it to give to me. Sounds fine right? Except the pureed carrots went really weird when I defrosted it in the fridge.
So weird.


It's like baby food mixed with juicer pulp, basically a carrot slushy with lots of stringy carrot fiber. I tried re-heating and stiring it but it is safe to say this soup will not be going back together any time soon. I didn't want to waste food, let alone home grown produce! So I checked the PPK forums for things to do with weirdly pureed vegetables to find something that could save this from the compost and as usual the ppk didn't disapoint. I found this awesome thread where folks made suggestions on what to do with the leftover pulp from making an Indian Tomato soup. Using their scraps in Appetite for Reductions Sweet Potato Drop Biscuits.

So I had a game plan and used the recipe from the book, I used an immersion blender to blend the carrot soup pulp (I strained away the liquid then added just enough liquid back to make up a full 1 cup) and a few tablespoons of apple sauce just to make sure it held together. I also added some thyme and Rosemary with the nutmeg as this was going to be a savory style bread.

Glorious results!
The dough was really, really wet likely because the carrot pulp is not as thick as mashed sweet potato so I wound up adding a bit more flour but the biscuits were still really wet more like muffin batter. I decided to try it out anyway, so I dropped half on the baking sheet and spooned the rest into muffin molds. The results were pretty great!

They turned out slightly bitter which might be from the lack of sweetness mixed with the ACV but still very tasty with vegan butter.

It just goes to show that even when things don't turn out there is usually a way to make something new.


Sunday, October 2, 2016

Vegan Frugality: How to be a Cheap Vegan (basically a subject close to my heart)

I know in the past I have raved about The Cheap Vegan Zine (which is sadly out of print) and from time to time I share budget or frugal friendly tips. The reason for this is both a passion for great whole foods being accessible and attainable for everyone but also from the very real economical situation I grew up in and find myself in today. Nova Scotia is one of the worst places for food affordability and quite often I see Stephanie (of Cheap Vegan Zine Fames) and my shared bane faux frugal tips. Mock money saving ideas that cost more then they save, or cheap meal plan ideas for 1$ a day which is frankly not attainable for many people due to local food prices, other economic factors like shift work (hours available for cooking), access to transportation/printers/internet and other resources that factor into comparison shopping and other things like initial disposable income or a well stocked pantry (not everyone has a well stocked pantry to start with or enough $$ up front to buy the much cheaper 10 kl bag of flour or other bulk items).

But enough about the politics of food and affordable living, onto the real money saving and cutting down on food waste stuff. One of the best tips from The Cheap Vegan Zine is a simple one: Recycle your Leftovers! Something I have talked about before and other blogs has tackled (perhaps accidentally). This serves a few purposes: 1) cuts down on food waste 2) saves you time and often money by using something you've already made to make something new 3) saves you from eating the same damn thing for weeks on end. Which when your cooking for a smaller crowd can be helpful because honestly who wants to make 1/2 recipe of chili or w/e just because you live alone, no one that's who.

I loved the ideas given for re-purposing soups or stews into casseroles then into veggie burgers and other tips.But I always wished there were more examples given, so I present you with some stuff I have been cooking lately which you may or may not have already seen on Instagram!

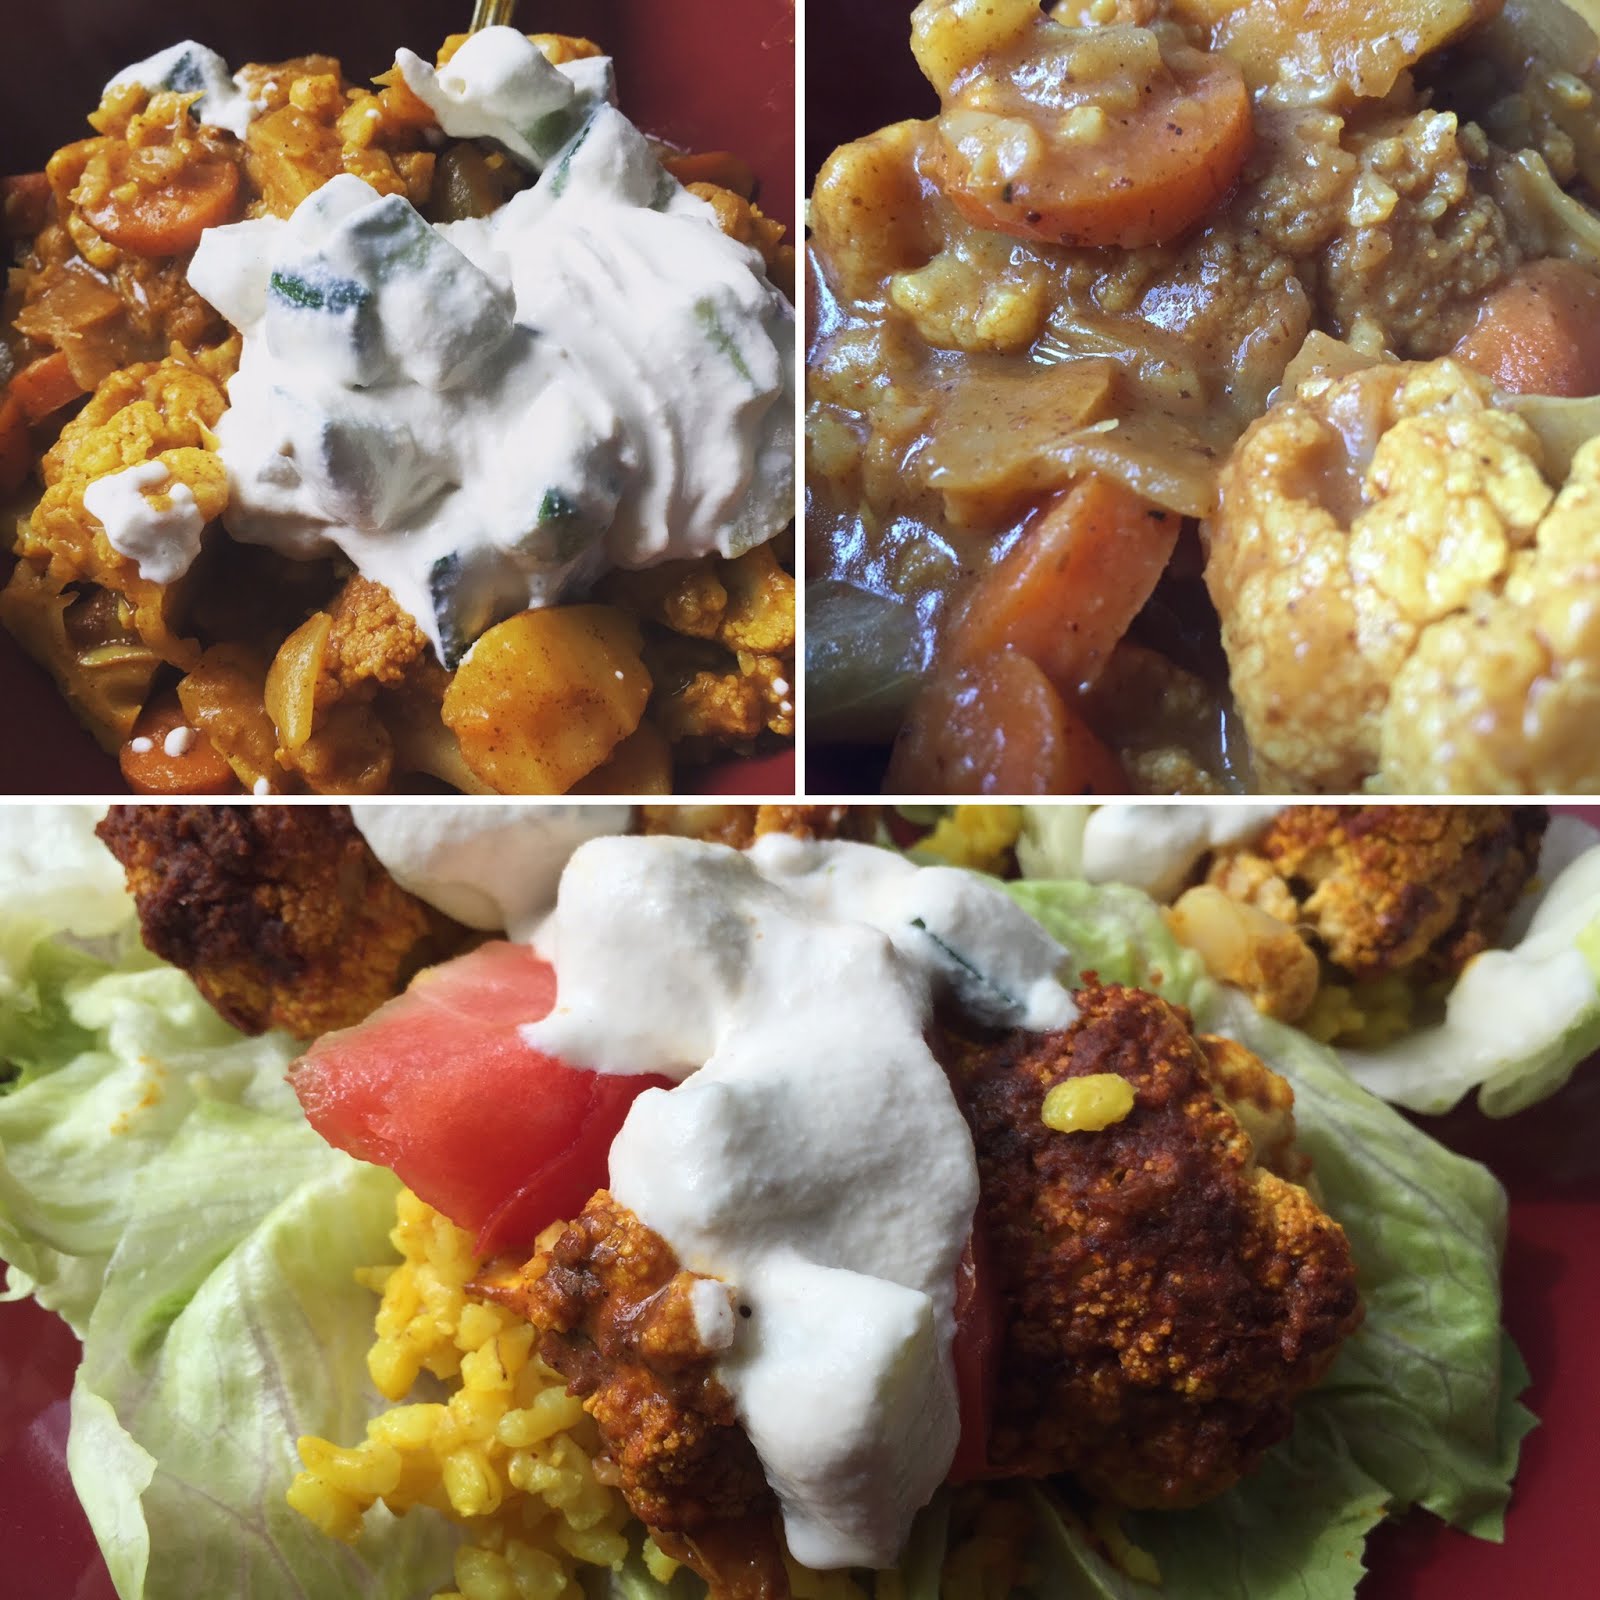
Inspired by this post of Mofo's past from Vegan Sparklers : Cauliflower Tandoori Lettuce Wraps.
I made a modified version making my own Vegan Tandoori paste using Coconut Yogurt & spices I had it is loosely based on this but with fresh ginger, added the zest of the lime and red pepper flakes.

The Finished Product!

Looks impressive, but was a bit bland/mild for my taste. So the next day before moving onto the lettuce wraps I basted the cauliflower directly with my homemade rub and baked it again in the oven (which was better but got to be a bit bitter in areas where the spices were thickly applied).

The Vegan Sparkles post already had one step of recycling leftovers built in, roasted cauliflower steaks, rice and cucumber raita for diner. Then lunches or dinners later using all  last the diner components w/tomato to make lettuce wraps. Same meal with a different application and super fast because you already made it last night.

I did mine a bit differently because white rice is nutritional cardboard and I wanted more veggies I made a vegan turmeric rice w/peas but used it the same. I also steamed some carrots and sauteed in vegan butter and added hot sauce to my wraps because I found the spice was a bit lacking and it didn't need the raita otherwise.

I took this concept yet one step further this afternoon by throwing the whole dutch oven with the roasted cauliflower head leftovers onto the stove with some additional water, 2 chopped carrots and 1 diced potato. I poured the water over the cauliflower to rinse off the spices into the bottom and build a sauce for the curry, put the lid on to let the vegetables steam/boil (position the cauliflower on top if you can!). And in a separate pan I sauteed an onion and 2 garlic cloves with salt and pepper and added them on top once they were cooked. Because the cauliflower had been a bit better on my second bake attempt (likely from me applying too much paste!) I added salt and a bit of sugar to the curry as it cooked until the bitterness subsided. The water and other vegetables helped too. You can also curb bitterness with coconut milk or other vegan dairy products.

Cooking it down for about an hour with the lid partial ajar adding more water or stirring as needed. Once the liquid was reduced and the veggies were cooked I added a sprinkle or Vegan Butter and Flour to build up the gravy, cooked until it thickened and voila meal 3 Vegetable curry simply cut the cauliflower into chunks and serve with leftover rice and more cucumber raita.

You could easily make this curry with any vegetables or bulk it up with beans or tofu/tempeh/seitan/tvp leftover you have hanging around. Or if you prefer a soup simply add additional water or broth  (tasting for seasoning) to thin it out. Even a Dahl style dish with lentils. This curry is a bit more of a Japanese style with the diluted spices, added salt, and roux thickened sauce. If you have access to it you could also bulk it up with coconut milk (or add the coconut milk and blend it into a bisque), since coconut milk is a bit more $$ I stuck with the water.

1 dish, 3 meals which if I had any more left I could also add oats and blend the curry into a burger which might still happen. OR blend the curry/vegetables into a thick sauce/gravy for tofu/tempeh/seitan or other dishes. This is also a good tip if you have picky eaters who don't like vegetables you can still get the nutrients. If you do go the blended sauce (or pureed soup route) and there is still too much for you to eat (or you get sick of curry style dishes) freeze the sauce/soup into ice cube trays and use this recycled curry as a flavour booster or starter for your next meals. Once frozen you can pop the curry ice cubes into a freezer bag and you have your own veggie fueled curry paste (flavour & nutrients!).


Bonus Points: Since I am not a huge fan of Vegan Yogurt I added the rest to my homemade tandoori paste and readjusted the spices stirred it together and tossed it into the freezer for future use (marinating tofu or tempeh, as a rub or curry/soup base).

I also took the bag of marinade (since it used a whole fricken expensive can of coconut milk!) and threw that in the freezer. You can reuse most marinades a few times before they need to be thrown out and freezing can help prolong their life. Or take a tip from Isa's VWAV and use leftover marinades to build sauces, gravies, dressings, or soups/stews. In fact I could have defrosted the leftover marinade to bulk up my curry but I really want to try it out on tofu.

Possibilities are endless and you just have to experiment. Sometimes even when things don't turn out or live up to your expectations you can still turn them around into something you'll enjoy.

Wednesday, March 7, 2012

Quick-n-Easy-Student-Smoothie

Something cheap and easy to throw together in the morning or the night before a busy day of classes.

Cheapest option is always to use what you have, Bananas are a great smoothie food and one of the cheapest foods around, but get creative with whatever you have.

Quick-n-Easy-Student-Smoothie
  • 2 Bananas
  • Chocolate Soy-milk
  • Pea Protein powder
  • hand full of spinach
Blend the spinach, pea protein and a splash of chocolate soy-milk until totally smooth. Add the banana in sections and blend until smooth.

Toss in a travel mug if you are supper short on time.

Enjoy!

Sunday, September 18, 2011

Simple Cheap Eats


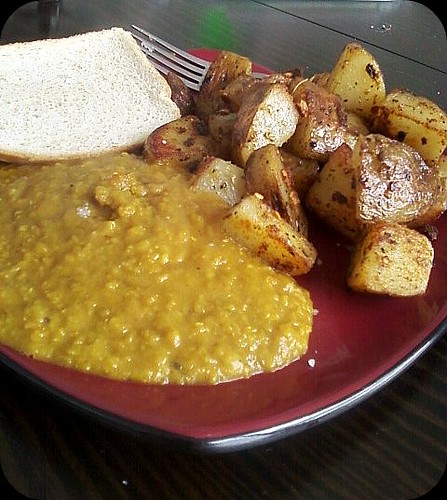
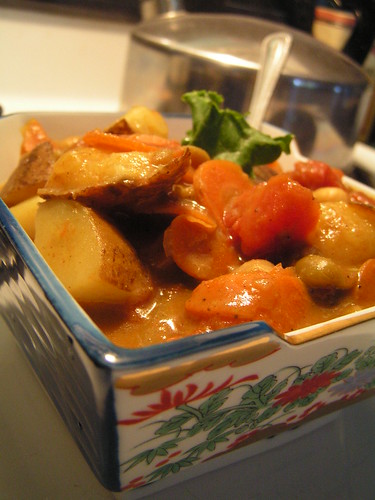
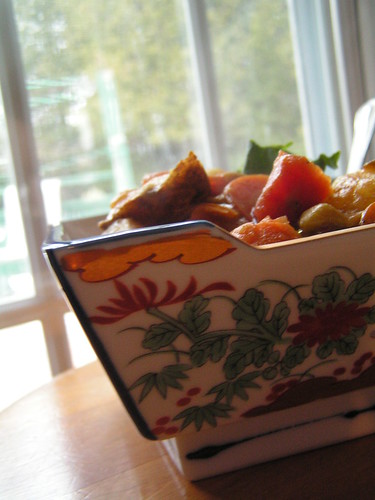
Some leftover stew from Fatty Fatty Boom Boom! zine and leftover baked potato fried with some spices.

Wednesday, July 27, 2011

Lasy cheap eats on the go

sanmich by B_A_Dxxx88
sanmich, a photo by B_A_Dxxx88 on Flickr.

Sorry for the lack of posting life has been crazy hectic and with working 7 days a week I feel like I rarely make anything post worthy.

Here is a terrible cell phone photo of my breakfast/lunch today, but it was such a good quick cheap last minute grab I had to share.

Running late and having not gotten groceries in a while, I was pretty hard up for food and have been taking instant costco oatmeal to work for breakfast and eating out for lunch.

BUT! This morning I stopped into pete's frootique to look around and decided to splurg on some 9.99/lbs guacamole. Finding pita chips at 3-4$ a bag, I decided to try to find corn chips when I happened by the bread section and found focaccia for 3.15 for a bag of 8 rolls from a local organic bakery.

So basically, these babies consist of toasted Focaccia, Guacamole, sliced organic tomatoes, dab of regular mustard and salt/pepper. So good, I'm eating one now for breakfast and toasted/wrapped another in the lunch room to take with me during my break along with the 2 costco kwiwis I am still trying to finish.


Here's the final score

8 Focaccia Loaves from a local organic bakery 3.50$
3 organic tomatoes 1.60$ (reduced produce score)
1 tub of Pete's Guacamole 6.15$
My total came out to around 11.60$ with taxes etc.
Added some mustard packets from the food section and take away salt/pepper and we are golden.

I figure it's not bad because this will make 6 meals because I'm generous with the tomato slices/guac, if I skimp I could make a full 8 meals, which for last minute 11.50$/8 =1.44$ a meal is pretty damn good.

Conversely I would now finally have bread for my veggie burgers if I decide to skip a meal or bulk one of the meals up with the frozen patties.

Tuesday, June 15, 2010

Broke Student Eats: Hummus Pasta

Ok, I know what you are thinking but hear me out! It's not gross, I promise. What's in your typical hummus? Chickpeas, tahini, oil, salt, garlic and lemon right? not bad. when you make spinach lasagna don't you usually make a thickish, creamy sauce, with some garlic, maybe cook the spinach with some tasty lemon juice. Well, you see my point.

My pantry was bear, I had a whole container of hummus that I had just lost interest in (I know I know, I'm a horrible vegan). Plus I picked up a wicked soy-mayo-dip from the farmers market, so it pretty much left the poor hummus out in the cold.


This recipe is supper adaptable, in fact I think I was originally planning to use my eggplants in this as well. Basically, any lasagna/pasta bake style veggies you have and need to use can go in the pot!

So here we go, I made 2 large containers but you may want to cut back a bit as this was over 4lbs of food. :oof:.

ingredients
- Pasta of your choice, I used macaroni because I bought 10lbs of it at costco ages ago. Spirals also work nice or lasagna noodles if you want to be fancy.
-3-4 good sized handfuls of spinach, torn into peices
-1 medium onion (your choice, I had Spanish so I used those), diced into bite sized pieces
-3 TBSP Pureed Garlic (or minced) I would assume this is around 3-4 cloves
-2 lbs button mushrooms (or any other mushroom/veggie combo, celery is good, so are eggplants and peppers), chopped into chunks.
-1 container of store bought hummus (minus less than 1/3 in my case, any amount will do)
-1 jar tomato sauce
-2 TBSP olive oil
-Fresh cracked pepper, nooch, basil and Italian seasoning, soy-sauce/salt opt.
Optional: Vegan cheese, Almond milk

Preheat oven 355

Start by boiling water for the pasta and washing your veggies. Chop everything. Heat oil in a frying pan. Caramelize your onions in a pan with lots of fresh pepper. Once onions start to colour dump in your mushrooms and continue to sauté, add more oil if needed.

As those cook be sure to stir your pasta. After the mushrooms and onions are almost done add the basil, more pepper, soy-sauce and Italian season. Continue to cook until mushrooms take on the rich brown colour and everything is coated in seasoning and fragrant. Add garlic and sauté until it too is done. Leave on heat, but don't let burn.

PICT0777

Your pasta should be ready to drain and rinse with cold water. Take your baking dish(s) and fill half way with pasta. Tear up your spinach and add to dish, toss with pasta and cracked pepper. Now grab your hummus contain and scoop out the hummus into the baking dishes. Tossing with the pasta until everything is nice and coated.
Tossed.
Now the hotter your pasta, the easier it'll spread. So I took turns dumping in hot mushroom/veggie mix onto the hummus globs to aid in spreading. Toss everything until well combined.
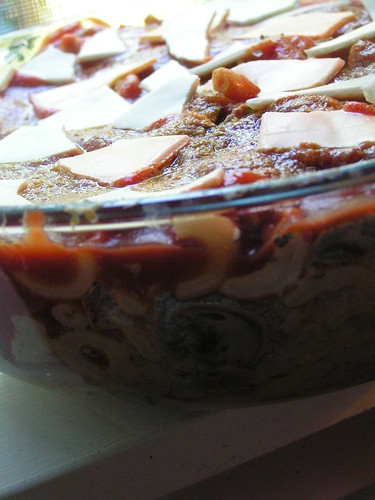
Hummus Pasta: Pre-Baked

Take your hummus container and add a splash of almond milk or water, close cover and shake. This will get all the little bits out, poor mixture into pasta. This also helps create a saucier consistency.
Saucy
now that everything is well combined, open your jar of pasta sauce and add it over top of the pasta creating a red layer. Top with nooch, cracked pepper and optional vegan cheese.

Creamy, oozing, goodness.

Bake in oven for 30 minutes covered*, remove cover and bake another 15 at 450 or until browned in spots/'cheese' melts.

Serve piping hot! Or put it in the fridge for lunches, it gets better as it ages.

* If your container doesn't have a cover, add a little extra almond milk or add water to the tomato sauce and shake it up to get all the little bits out and pour that over. The added moisture will help everything from drying out. I did one covered and one not, giving a little extra sauce etc to the non-covered dish.

Pre-baked.


For hummus lasagna, I would toss the vegetables separately with the hummus, then layer, veggie/hummus mix, noodles, spinach, tomato sauce and repeat.

Tuesday, October 20, 2009

Veganmofo: Student's Chili

Here's a simple and easy chili recipe. I threw this together last night for supper and it made enough for lunches for the next few days plus more the freezer. The main point of this meal was to make use of the last little bits we had running around. Depending upon what you use it can be fairly budget friendly as well.

Hungry Student's Chili

One thing I like to do with jars of salsa and tomato sauce (or really any kind of sauce, pickles, jams etc) is once the jar is empty to add hot water to the jar and shake to get all the little bits of sauce left. And I normally save these remnants for sauces, soups, stews and other dishes that cook for a while. Not only does this make cleaning the jars for later use a breeze but it also ensures you get every last bit of sauce

PICT0143
Hungry Student's chili

1 can kidney beans
3 cups leftover beans
1 pack veggie grounds
1 onion diced
3 cloves of garlic diced
1 can diced tomatoes
1 can tomato paste
leftover spaghetti sauce, salsa, black strap molasses
asian chili sauce
olive oil
cooking sherry

Spices:
Mustard seeds
cumin
garlic powder
crushed red pepper
paprika
Cayenne pepper
oregano
sage
thyme
dried rosemary
fresh ground pepper
fresh rosemary

Optional: corn starch

In a large pot heat your oil and add your onions mustard seeds and cumin. Sautee until onions are translucent while grinding in pepper. Once the onions begin to turn add your remaining spices and continue to stir, being sure to scrap the bottom. Now add your diced garlic and continue to cook until fragrant, keep scrapping the bottom.

Once your garlic is fragrant add your veggie grounds and cook until browned. De-glaze the pan with cooking sherry, keep the heat high and scrap the bottom. Now add more red pepper flakes, paprika and cumin.

Be sure to drain the beans if using canned. Add beans to pot and stir, cooking for 3 minutes and adding more pepper.

Now add your leftover bits of sauce, salsa and molasses. Stir and adjust for seasonings. Add your tomato paste and canned tomatoes, rinse cans and add liquid. Don't forget the chili sauce if you have it, a tsp or so should do.

Continue cooking and tasting, adjust seasoning but be careful as your pepper flakes/overall spice will increase with the cooking time. Cook for about an hour, stirring occasionally.

If your chili seems to thin, remove some of the liquid with your spoon and place into a mug/bowl and create a slurry with a bit of corn starch. But sure to stir until starch is completely dissolved before adding back to the pot. Cook for an additional 20 minutes, repeating as needed.

PICT0142

Remember chili gets better the longer it cooks. But once you cannot wait any longer dig in! And enjoy

Also this recipe makes leftovers, so freeze some for latter use.

Wednesday, April 8, 2009

Simple Potato Curry


I originally found this on a LJ community and made enough to last me all week. I also used some leftover curry to fill some home made samosas! This is a great week night curry that you can throw together easily and enjoy leftovers for lunch. Being a little lazy and less authentic, I used whole wheat tortillas to scoop this stuff into my face.

Easy Potato Curry

4 large potatoes, unpeeled diced and boiled until soft.
2 T canola oil
1 yellow onion diced
3 garlic cloves
1 large carrot sliced into thin coins
5 t hot curry powder
4 t garam masala
1 fat inch of frozen ginger, grated
2 t paprika
1 t sea salt
1 can stewed tomatoes broken up (or diced if you have it!)
1 can coconut milk
1 large can chickpeas, rinsed
1 can peas, rinsed

Plop your potatoes into a pot of salted water and boil until tender. Drain and set aside.

If you don't have pre-boiled potatoes, do this while you wait.
Warm oil in a large pot (enough to fit everything) over medium heat. Add your onions once the oil is heated, saute for 2-3 minutes before adding your garlic. Once onions are translucent and garlic is fragrant toss in the carrot pieces and cook for 3-4 minutes. Then add your spices. Cook for 1-2 minutes while stirring. Now add your potatoes, rinsed beans and peas, cook for a few minutes. Now dump in your canned tomatoes and coconut milk and bring the whole thing to a low simmer for 5-10 minutes. If you find the curry to liquidly as I did, sift in a little corn starch to thicken it up.


Monday, September 29, 2008

VeganMofo: Poor Gal's Soup

Here is a recipe for a soothing soup when your wallet is looking bare.


Poor Gal's Soup:
  • Tomatoes (fresh is best, but canned works or a combo of both)
  • Onion (for a milder soup, green onions are best but they are pricer)
  • Garlic (I like garlic so I use 3-4 cloves)
  • oil
  • Water
  • Seasoning: Optional but this is best with fresh thyme and a little S&P
    • Thyme*
    • Rosemary*
    • Oregano*
    • Pepper
    • Cayenne if you like the heat
    • Mix it up and use whatever you have on hand or like
*On a super budget, Italian seasoning will do and you can use granulated or powdered
onion/garlic.

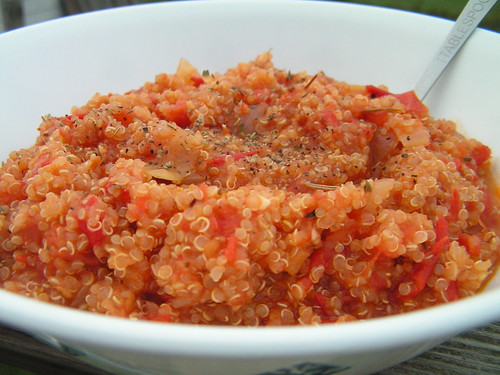
This soup is great with just the bare minimal (water, tomatoes, flavorings), but some easy add ins include: Small quick cooking pasta, rice, beans or lentils, veggies like greens, zucchini, peppers and anything you like. This time I had some Quinoa (lucky me!) so I used that.

Directions:
Heat your saucepan with a little bit of oil, chop your fresh garlic and onions add them to the oil and cooked until soft. If you like you can add your spices now to flavor the oil. Chop your tomatoes (or open your can). Add them as well, cook them for 3-4 minutes and then begin adding your water, it may look thin but as the tomatoes cook down you will begin to thicken the soup base into a surprisingly think and tasty broth.


Notes: if you are adding any extras like beans or veggies you can fry them with the tomatoes or simply add them after the water. Grains or pasta (uncooked) add them once the water is boiling.

This is a great light soup, easy for when you sick or studying, and filling when your fridge is bare.

Sunday, February 10, 2008

Hodgepodge

For some reason when I woke up this morning I had a flash back to a cooking class I attended in my pregan days. We made hodgepodge with the chef (my friend and I where the only two there).

Having recently bought some local organic soymilk I decided to give it a go, veganised and improvises I give you Iron hodgepodge.

To start with you will need a large pot with salted water on medium high, as the water heats shop 4-5 medium potatoes, two carrots and a hand full of kale (reserve the tougher stalks ends to make broth on the weekends).
One water is boiling add potatoes and cook for around 10 minutes, then add the carrots. Watch for starch build up! As you wait for them to cook chop an onion and one or two bulbs of fresh garlic, you may also want to grease/prep your cast iron with olive oil. Another ten minutes and test the vegetables with a fork. If they are soft add kale and cook until everything is done. Set aside with cover on pot to cool.


As veggies cool heat the skillet then turn down the heat and add your onions and garlic. As they saute chop some oyster mushrooms (I am going to be honest, I bought some odd looking mushrooms from the market, I have no idea what they actually are but they remind me of oyster mushrooms. Any white mushroom will work). Chop them into larger pieces (I just sliced mine in half as they were thin. If you use button or "meatier" mushrooms try quarters [STEMS TOO!!]). Fry mushrooms with your sauted onions. Add pepper, nooch, paprika and rosemerry. cook until mushrooms have a little bit of texture.

Now start spooning your boil vegetables into the pan. No need to drain as your going to be using some of this broth to thin your soymilk (if using non-fat soymilk you can probably skip this part, but reserve the broth for a later use it's salty and has some of the nutrients lost from the boiling).
continue to cook the veggies until some of the potatoes begin to flake apart. Re-spice to liking as you cook. Then add in your soymilk enough to cover the bottom of the veggies and you can add more as you. As everything cooks together add some of your cooking liquid from the pot to thin the soymilk. Add whichever ratio you prefer of the soymilk and cooking broth until you reach about an inch below the top of the skillet.

Continue to cook again adding more spices as you see fit. If you have them fake bacon bits are great in this. Once heated through your ready to serve and enjoy! Serves around two I'd say.
And you're done!


Hodgepodge is originally made with whichever veggies you have lying around and particularly good with turnips. For fancier looking presentation you can peel your veggies but I like them unadulterated and this way is better for you anyways. Add more pepper, nooch and bacon bits to the top when serving. Croutons might be nice too.


Oh! Another oddity, I know this is a savory dish but it helps with the iron absorption and I like the flavour. Before you eat your bowl, squeeze a lemon wedge over the bowl. Either way it's sure to please. enjoy!
More photos, sorry about the slow quality my camera has no power: